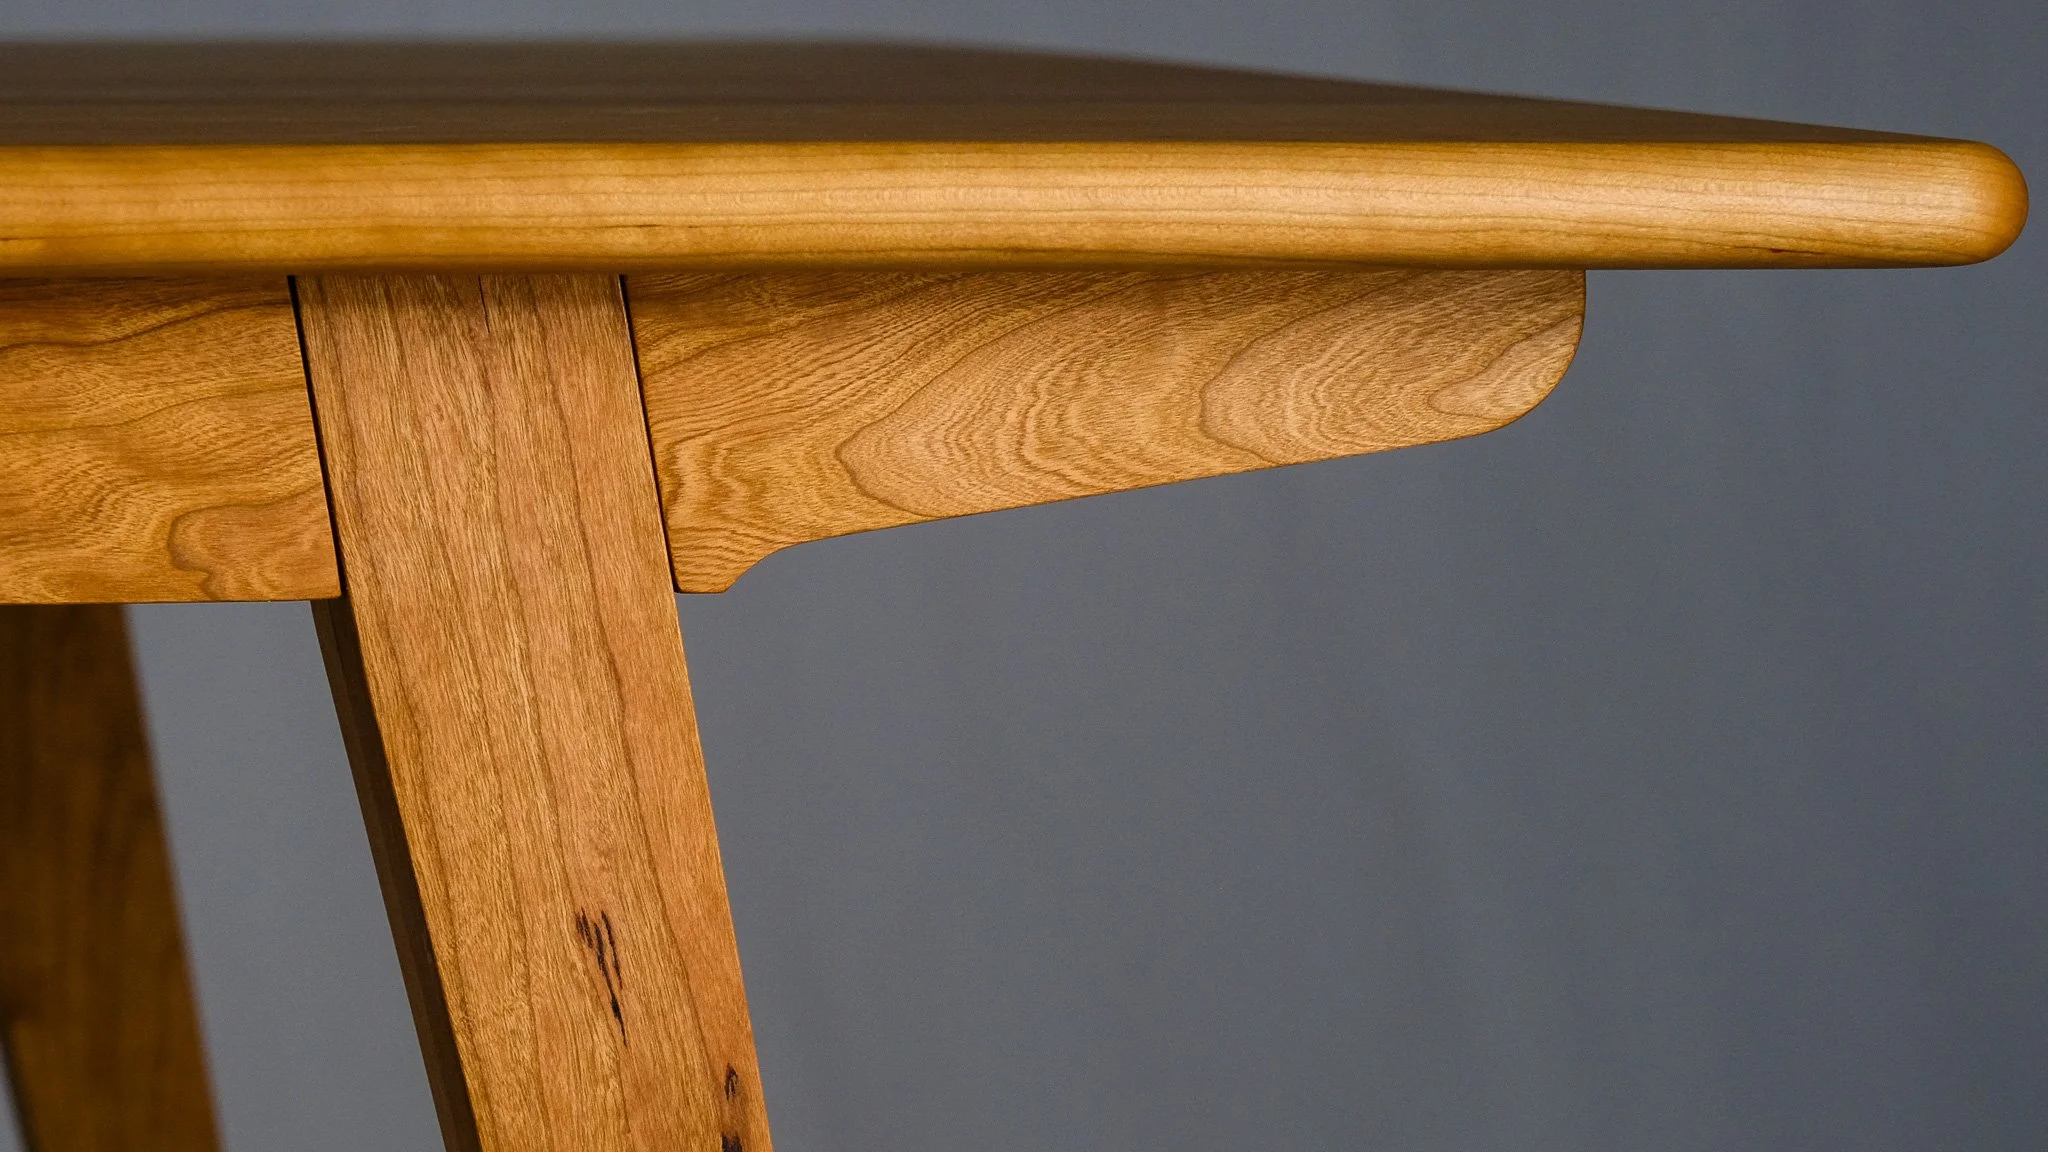
Retail Product for Fox Wedge Furniture
The Aero Dining Table
An insight into my
Creative Design Process
Design Takes Flight: The Evolution of the Aero Table
The Aero Dining Table, inspired by Tulsa's aerospace legacy, combines sleek curves with modern craftsmanship. Originally a custom project, I refined it into a streamlined, CNC-friendly design perfect for flat-pack shipping.
Old Dog, New Tricks:
Refine the Design
Every design has to begin somewhere, right?
The original Aero Table featured chunkier proportions and through-tenons. While lovely, its Arts and Crafts influences clashed with the minimalist Mid-Century Modern look I wanted.
I didn’t dislike this design. Actually, I still think it’s really beautiful, but it needed refinement.
Let’s identify our “Must-Haves”.
Refined aesthetic intent. Focused on joinery over glue and screws. Structural corbel with hardware that accommodates wood movement while being easy to install. Flat-packable, CNC machinable, and manufacturable. Easy-peasy, right?
1.
Refining the Visual Intent
The evolution of the table’s look, emphasizing softer lines, cohesive proportions, and user comfort.
I needed to soften the top profile while keeping the sleek design.
Before
Softer Edges for Comfort
The original sharp tabletop edges clashed with the more organic-shaped base and was caused practical issues, like a week-long bruise on my hip.
The tabletop corners were rounded, and a full bullnose edge added for a sleek yet softened look.
After
I aimed to refine all dimensions and angles for a cohesive look.
Before
Balance And Proportion
The earlier design felt bulky and the proportions less deliberate, which made each design detail feel out of balance.
Adjustments were made to angles, tapers, and setbacks, ensuring every line and curve harmonized in a Mid-Century symphony.
After
2.
Redefining Construction
Moving away from glue and screws for construction and making sure all elements support the structure.
I wanted joinery that supported flat-packing and easy assembly.
Previous Joint
Designing With Joinery in Mind
The original table pulled heavily from this mortise and tenon connection. While robust, it must be glued in place, which doesn’t allow for assembly on site.
The angled bridle joint at each leg connects securely while allowing the base to be disassembled for shipping.
After
A vertical sliding dovetail locks each short apron, ensuring a square frame and secure, disassemblable legs.
I wanted the corbel to play an integral role in the tabletop’s end support.
Before
The Corbel: Function & Beauty
The corbel in the initial design was decorative and glued on, offering little structural value. This felt dishonest, as corbels are meant to provide structural support for overhangs.
After
Now cut from a single piece, the corbel and apron unify to capture the bridle joint and better support the tabletop.
3.
Hardware That Lasts
Replacing finicky screws, unsightly mounting blocks, or difficult hardware for longevity and ease of assembly.
I needed a reliable hardware solution that anyone could install.
Before
Avoiding Traditional Methods for Easy Assembly
Hardware for wood movement in the tabletop is essential for longevity but often unattractive, requires uncommon tools, or difficult to assemble and disassemble.
After
4.
Designed for the CNC
Focusing on modern manufacturing techniques ensures precision, scalability, and consistency.
I aimed to create sliding dovetails quickly on the CNC.
Designing and Carving the Dovetails
Using a dovetail router bit, I cut out a slot, then with a 1/8” diameter bit, carved the tails, fine-tuning tolerances and the CAD model to resolve issues with material fuzziness during prototyping.
The result? A seamless dovetail that securely pins the angled bridle joint, ensuring the frame stays square and sturdy for flat-pack assembly.
I wanted to design a fixture to minimize machining setups.
Efficiency in Numbers:
Cutting parts individually on the CNC was time-consuming and inefficient for production.
I designed a fixture to hold up to 12 pieces of varying lengths and widths, keeping dimensions aligned with my design parameters.
The fixture allows parts to be kept at a constant distance from the origin, so pieces can be flipped in place for accurate cuts.
I needed to achieve a flawless bullnose tabletop edge by elevating the part.
Smooth Operator
Standard bullnose bits are designed to work in tandem with vacuum pods (to elevate the work piece), but purchasing enough vacuum pods to elevate the part would be very expensive.
The pods elevate the tabletop securely and allowed the edge to be profiled with no damage to the spoilboard.
To stay under budget during prototyping, I designed custom vacuum pods cut from HDPE that I could easily make on the CNC.
Purchased (green): ~$250/each.
My design (white): 30 pods from $250 in materials.
To prevent tear-out (where wood is ripped out along the grain) each cut is made in a certain order.
I aimed to create an efficient, CNC-driven sanding solution.
Sanding the Large Tabletop
The 42” wide tabletop exceeded the capacity of our planer and wide belt sander, and hand-sanding with an orbital sander took over a dozen hours.
By repurposing a broken orbital sander into a CNC tool, we could run the sanding head back and forth, pausing the program to replace sandpaper as needed.
After flycutting (flattening the stock to a specific thickness on the CNC), the sanding process delivered an even surface with minimal touch-ups required, cutting production time dramatically.
Final Product:


